
Several weeks ago, a few pictures from a baby shower popped up in my newsfeed on facebook. I noticed these paper flower wheel (paper fans? paper wheels? paper pinwheels? paper flowers?) things the host used as decorations - SO cute (I've also seen them in super tiny format as a scrapbook embellishment).

I decided to try making a few and, after failing miserably the first couple tries, I got it ;) These cuties are so fun and you can use them as decorations for a party, or maybe hang a couple from the ceiling to create a gorgeous (and ever-changing!) collage.

Supplies:
+ paper (at least 8.5"x11" - I also used 12"x12")
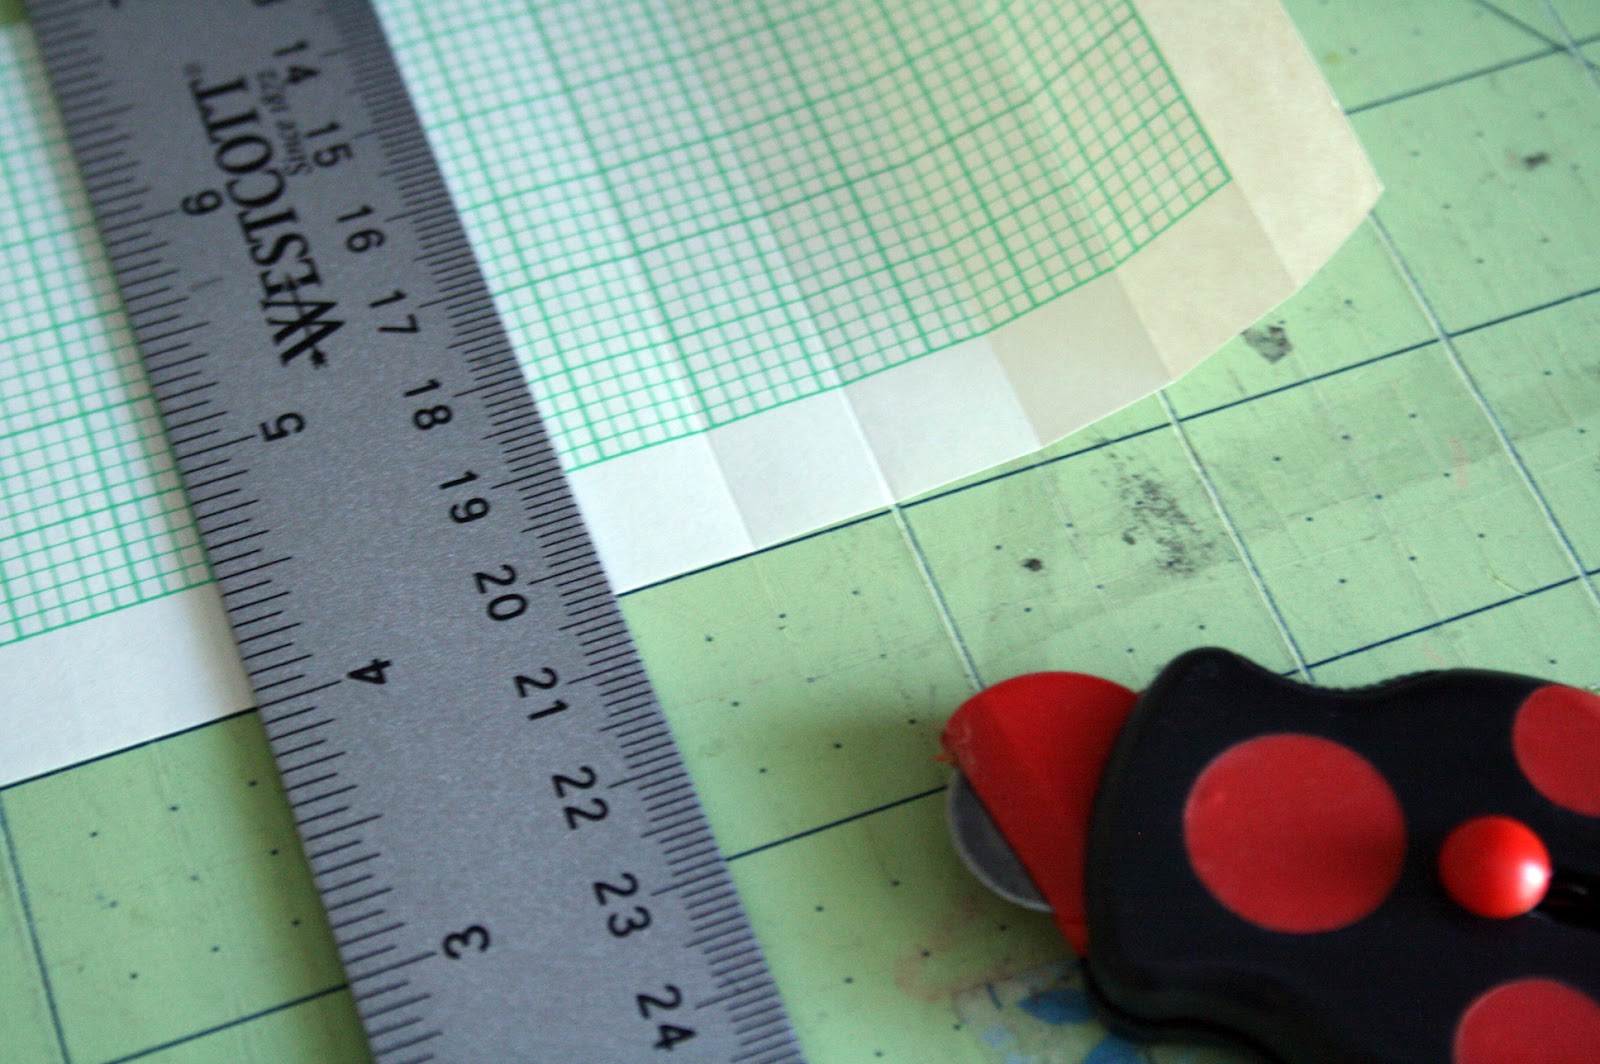
+ scoring tool (or dull side of a table knife) and metal ruler
+ rolling adhesive
+ glue dots
+ buttons (I always thread my buttons to make them look sewn on, much more of a finished look)
To start, I cut 2 strips from an 8.5"x11" sheet of vintage graph paper. The strips were 3"x11". I then scored both of them (with my handy-dandy ladybug score thing-a-ma-jig and metal ruler) every half inch. If you don't have a scoring blade, you could use the dull side of a table knife.


Voila! A super cute, super fun decoration that you can make from found papers, scrapbooking papers or vintage papers. And they don't take long to make :)


I've been wondering how to make these, thanks for sharing the 'how to', they look lovely. Great idea to thread the buttons too!
ReplyDeleteThese are very cute. Thanks for figuring out how to make them & for sharing it with us.
ReplyDeleteThese are very sweet decorations, with so many ways to use them. I can tell that tricky part would be super-challenging for me! :P
ReplyDeletehave you tried to run a needle and thread through the center to gather it together? i haven't tried it, it's just something that kinda popped into my head while reading this...either way, these are super cute and i'm glad you posted the how-tos on this...THANKS!
ReplyDeleteWe made these into a banner! Thanks!
ReplyDeletesoooo CUTE i made these for my room and i got A LOT of compliments
ReplyDeleteThanks so much! Would have taken me much longer to figure this out on my own with measurements and all.
ReplyDelete